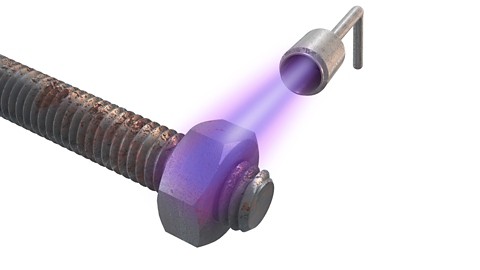
LOCTITE® Threadlocking for Automotive Repair (e.g. engine block or brake back-plates)

A car is held together on average  with around 3,500 fasteners. This means 3,500 potential places where vibrational loosening can cause the threaded assembly to fail. To avoid these failures from happening, LOCTITE® Threadlockers are a reliable alternative to mechanical fastening. Available in varying strengths and temperatures, adhesive threadlockers perform reliably and effectively on fasteners of any type and size, either before or after assembly. And all with the same purpose and function: to ensure a durable and reliable assembly.


Get the Materials

Using adhesive threadlockers is a great alternative to mechanical fastening with e.g. tab washers, nylon ring or with locking devices such as saw-tooth flanged bolts. LOCTITE® Threadlockers come in many forms and shapes − from low − to high strength. Make sure to select the right adhesive for your needs and also have cleaner and primer or activator at hand (where needed).

STEP 1

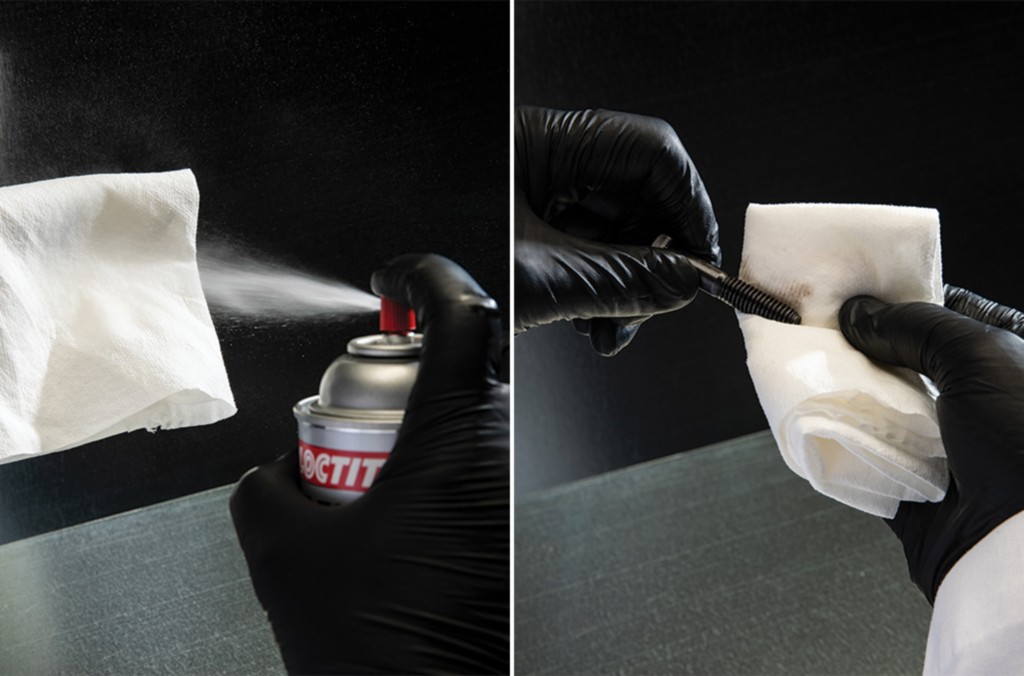
Cleaning

To achieve optimum results, all  old parts need to be clean and free of oil / grease prior to bonding. It is recommended to use LOCTITE® SF 7063 to degrease and clean surfaces prior to applying adhesive.
For nuts and bolts, wrap the cloth around the threads and turn. Wipe in one direction − not back and forth.  Clean the part until it no longer discolours the cloth.


Tip: For through holes or blind holes, apply cleaner and clear the hole with clean, dry compressed air.


Optional: Reuse bolt

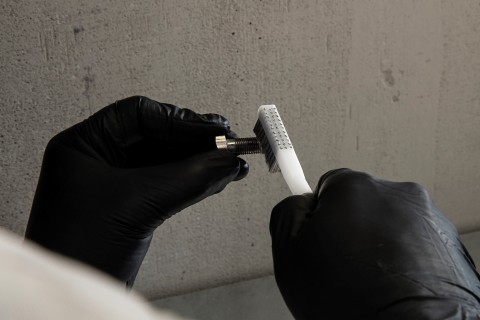
If you need to reuse a threadlocker bolt, cured threadlocker will need to be removed from the threads. Cured product can be removed with a combination of soaking in a solvent and mechanical abrasion such as a wire brush.


STEP 2 − use activator (optional)

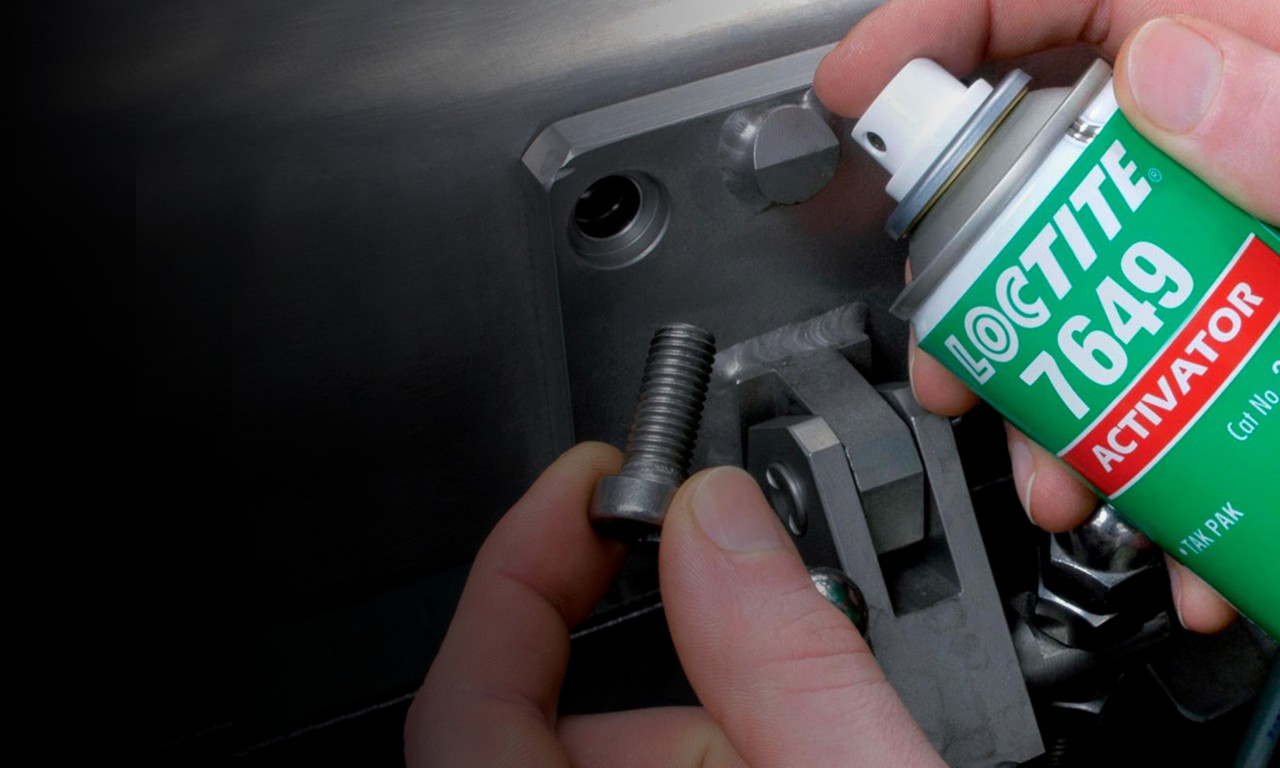
If you need to speed up the curing, use activators. They are particularly useful when using passive substrates (such as stainless steel, zinc plated bolts or zinc flake coatings) to help initiate the curing process and provide a more robust cure.
The activator is applied on one surface, e.g. on the through hole or on the nut and the adhesive on the other surface, e.g. on the bolt thread. The curing process begins immediately after two parts have been joined.


STEP 3 − Option 1

Apply the adhesive —Through-hole

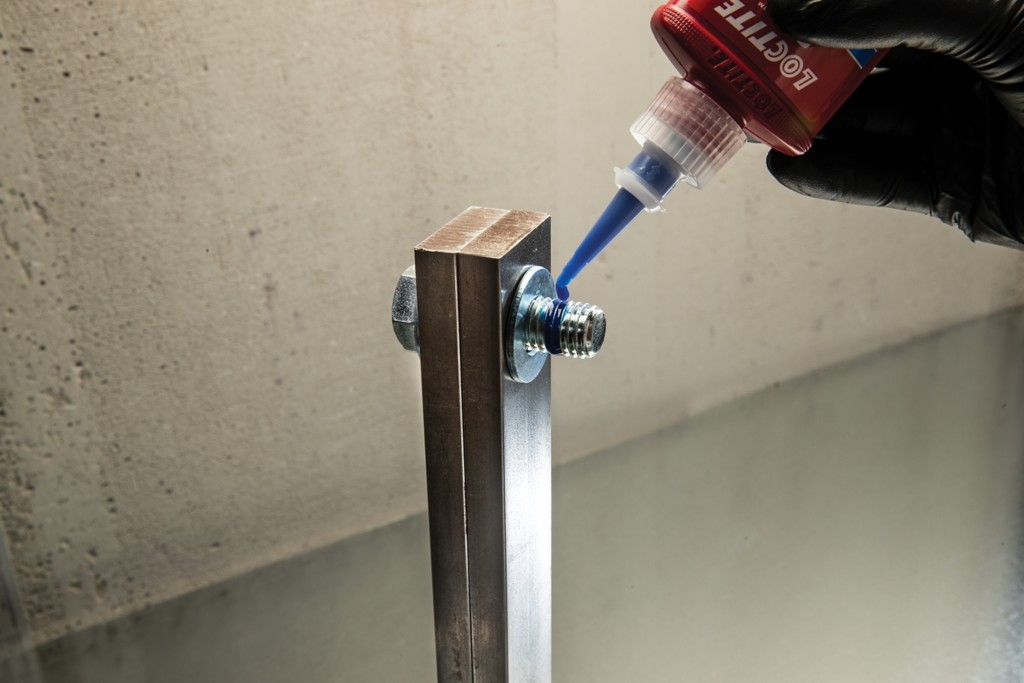
Assemble bolt first and then apply threadlocker. Fit nut and tighten to correct torque.

Tip: A minimal amount of threadlocker squeezing out from the nut and bearing surface interface indicates that sufficient volume of product has been used to fill the clearance.


STEP 3 − Option 2

Apply the adhesive — Blind hole

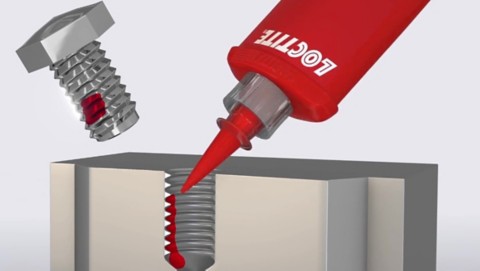
For blind hole applications, drops of liquid threadlocker should be applied down the female threads into the bottom third of the hole and the bottom of the hole. Once the bolt threads become engaged with coated blind hole threads, the air will push the threadlocker towards the exit of the hole creating proper coverage. 


STEP 3 − Option 3

Apply the adhesive — Post-assembly

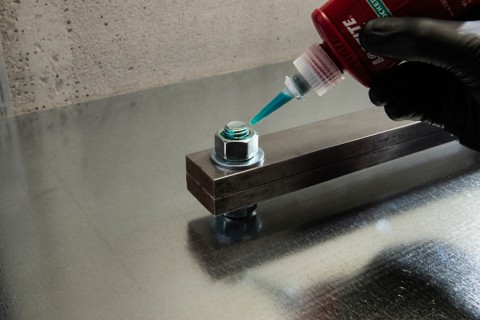
Use this when you have an already threaded assembly that has been corrected in position or after locking adjustment screws.  Use use a wicking grade threadlocker. The product should be applied at the nut and bolt junction.


STEP 3 − Option 4

Apply the adhesive — Threadlocker Stick

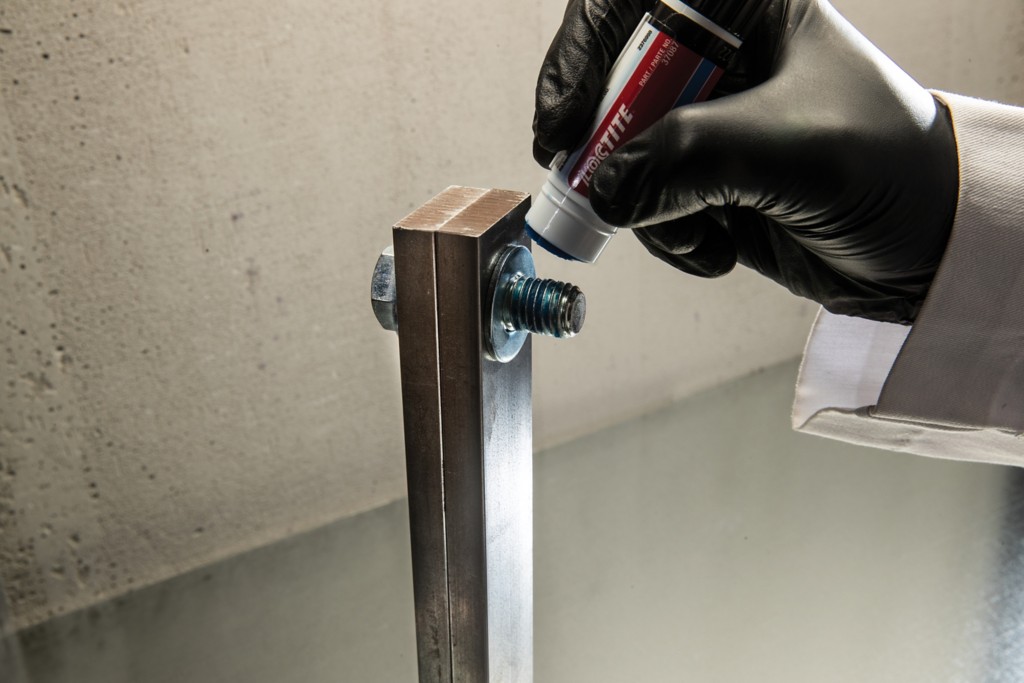
Use if you need flexibility for tough applications, especially overhead, and on components that cannot be moved. Twist stick to the amount required. Apply sufficient product around the thread of the bolt.


STEP 4

Assembly

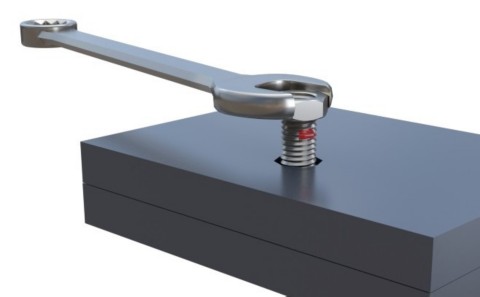
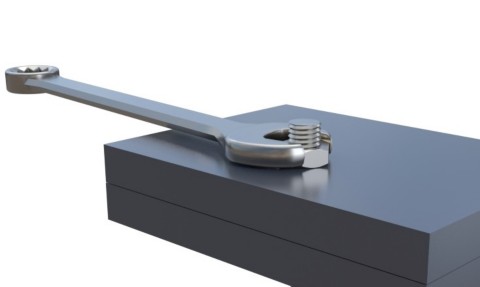
Assemble and tighten. 


STEP 4

If several bolts are being assembled, torque them down to the correct value within the fixture time of the product or use slow curing product.


STEP 5

Disassembly

If disassembly with standard hand tools is not possible, apply localised heat at approximately 250°C for easy dismantling (while hot).